When the warm weather arrives and the snow starts to melt, the last thing anyone wants to do is turn on their central air conditioning system only to find that it’s either blowing warm air or not blowing anything at all. But turning on central air too soon can also mean costly damages. So when should you being preparing the AC for Summer?
In the fall, winter, and early spring seasons, your air conditioner will sit idle for months at a time and collect leaves, dirt, and debris. Before you get ready for warmer weather, a bit of maintenance is needed to get your air conditioner ready for the summer months. If you wait too long to maintain your AC, you may end up waiting for weeks on a busy service professional who will charge you premium rates during their busiest season
If you want to get your air conditioner working well, you should learn how to clean the condenser, replace the air filters, and other small fixes to get your air conditioner running as best as it can. This will allow you to cool your home efficiently without having to pay the $250 or more on professional labor.
How does central AC work?
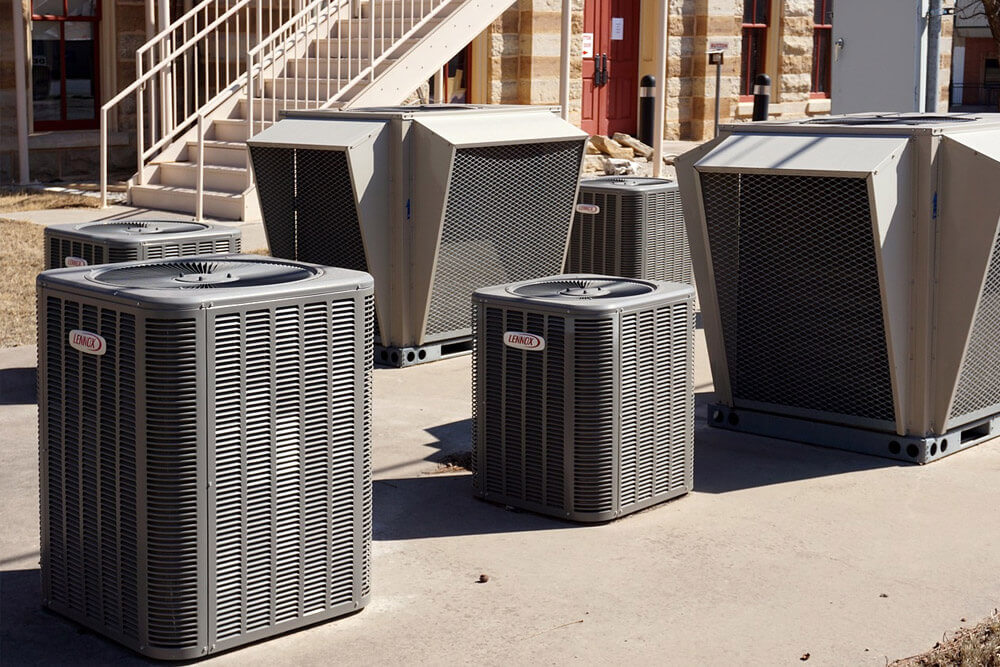
A central air-conditioning system utilizes two main parts. The first is the condenser unit, which is the bulky part that is typically located in your back or side yard. A second component is an evaporator unit which is usually mounted on the furnace or the air handler.
These two parts work together to remove the heated air from the inside of your home by using refrigeration technology. The air handler then blows the chilled and dehumidified air through your ducts and into specific rooms of the home.
You can work on both of these parts with very little trouble. However, if you need to make a repair on the sealed refrigeration system, you must call a professional HVAC service for your own safety. You can clean and maintain this system on your own, though.
Safety
Before you begin working on your air conditioning unit, you need to cut the power to the condenser at the service panel. This component typically comes with a high voltage weatherproof disconnect box that should be close to the unit. Inside you’ll find a lever, a couple of fuses, or a circuit breaker used to shut off the condenser. Be sure to shut this off, too.
Your furnace or air handler cabinet will usually have a separate switch in your homes main electrical panel. Be sure to turn this off too.
Some air condensers have an electrical capacitor that will store electric energy, so make sure you leave it alone for 30 minutes or so before you begin to work on it. You should also make sure to wear grounded shoes and avoid touching the electrical components inside.
Cleaning or Replacing Air Filters
Cleaning or replacing your air filters is usually the most important step and often the easiest. You should clean or replace the filters in your furnace or air handler twice a year, or if they start to look clogged with dust and debris. Not cleaning your filters will restrict the air flow into your home and reduce efficiency, which will recirculate the dust into your home as well as make your electric bill noticeably higher. For detailed information on this process, click here.
Clean the Condenser Coils
Your condenser unit, the big box located outdoors, must be cleaned regularly. The condenser unit is like a big fan inside a metal box with ventilation slots on the sides. The best thing you can do is to cover your condenser in the winter with a tarp or a condenser cover in order to prevent the accumulation of leaves, dirt, and other debris from getting inside. If you don’t cover your condenser, you will need to clean it.
An AC unit’s outdoor compressor unit will have a fan inside that should be clear of any and all debris, including grass, cobwebs, leaves, and sticks. The fan inside the box is in charge of moving the air across condenser coils similar to a radiator. If you find debris in the box, odds are that dirt has clogged some of the coils. If the airflow is obstructed, your condenser will not be efficient.
In order to clean these coils, you’ll need to use a screwdriver or a nut driver to remove the side and top panels or the grilles from the unit. Double-check that your unit is entirely shut off and the power is off before you open it up. Unscrew the side panels and pull them off the unit, then lift off the top. The top will be heavy due to the fan that should be attached to it. Don’t disconnect any of the wires attached to the fan.
By using a soft brush on a vacuum or a refrigerator coil brush you can gently clean the coils from the outside of the unit. The fins and coils are delicate, so be sure to clean them gently. If the fins get bent, you can use a fin comb to straighten them back into place. After cleaning from the outside, you can vacuum the coils found inside.
Some debris like mud will be stubborn and difficult to remove. If this is the case, you can use a commercial coil cleaner spray from the inside. Just be sure to never spray the fan or electrical components under any circumstances. Sometimes you will need to use a spray bottle with a concentrated stream to blast dirt out of the coils, but you must be careful. Make sure you don’t bend the ind, spray water on the electrical parts or the fan motor, or flood the area. You can cover the electrical components with a plastic bag to keep them dry. Keep in mind that blasting the dirt can create mud that can block the places between the fins, so make sure you rinse thoroughly.
Clear Debris
Odds are, leaves and small branches have found their way into your condenser during the off-season. Make sure to scoop out as many leaves and twigs as you can and vacuum out dirt from the bottom of the unit. If it has a drain, be sure that there are no clogs and it can drain freely.
You can use a shop vac and a dry rag to wipe down and clean the blower’s fan blades. After this, you can tighten any loose bolts on the fan and add WD-40 to the oil ports for lubrication purposes. If there is any water leftover, be sure to mop it up. The unit must be completely dry before you can reassemble the condenser.
Check Coolant Lines
Make sure you take a look at the refrigerant tubes that run from the evaporator on the air handler to the condenser. They are normally covered with foam coolant line insulation to prevent energy loss. If you find these lines are missing insulation sleeves, or the ones you have are getting frayed and nasty, replace them. All you have to do is wrap the pipes in a spiral with foam insulation tape or install foam insulation sleeves on the pipes. Both can be cut to length with a utility knife, so you should have no problem.
Testing the Unit
Make sure the condenser unit is completely dry before you turn the power back on. The first thing to do is make sure that the thermostat is set to off in your home. From here you can turn the power on at the disconnect box and at the main panel. When you’ve given the unit a chance to get power, you can set your thermostat to cool. If you find that the unit isn’t working or isn’t blowing cool air, it’s a good idea to call a professional to take a look at your sealed refrigeration system.
Here at Go Green Heating and Air Conditioning, we have decades of collective experience with central air conditioning. If you find yourself more comfortable leaving it to the pros, be sure to give us a call. We’re always happy to help!